The Stitch and Glue technique is what I had to learn to build my boats.
This means that you practically "sew" the parts of the boat together with cable ties before bonding them with epoxy and fiberglass.
For example, to "sew" the bow together, lay both side panels flush with each other and drill a 6mm hole every 8 - 10 cm through both panels along the desired seam. Then you have to pull a cable tie through the holes and tie the panels together.
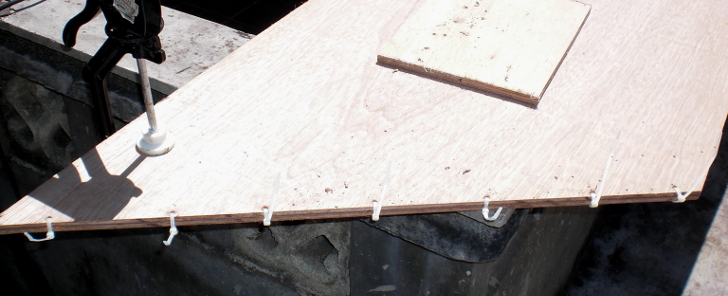 This shows how the two side panels are stitched together along the bow
Just don't tighten it too much so that you can still move the panels a little bit.
Assemble the whole boat with Cable Ties before gluing
As the next step we will unfold the side panels and stitch the transom, the inner frames (if any) and the bottom panel together. The whole boat needs to be assembled with cable ties before you will start with the fiber and epoxy.
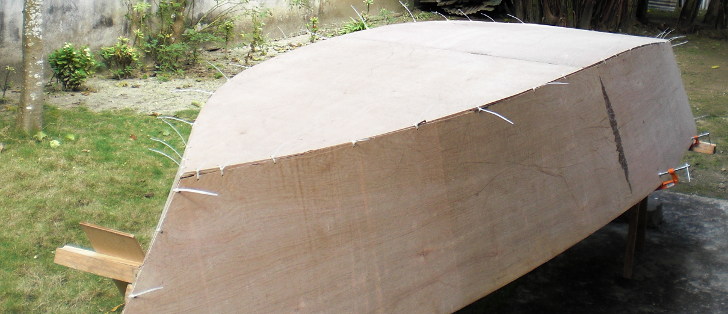 The boat is fully assembled with cable ties only
The last step is to cut an about 10 - 12 mm wide stripe of fiber mat and place it along the seams, inside and outside of the boat.
Together with a filler (self made) to round the inner corners the boat will then be glued together in one step each, inside and outside. The epoxy needs to dry and harden (12 hrs) before you may turn the boat and do the outside. Always do the inside of the boat first.
The cable ties need to stay in place when you glue the inside of the boat. We will cover them with the filler and the fiber mat and the epoxy.
After the inside is dry and hard, you can cut the remaining ties outside of the boat and round the outer corners with a sander. Then you can glue the fiber mat stripes with epoxy along the edges.