So here is the story of the bigger boat I built out of plywood. In the plans it was described as a Fishing Punt but for me it should become a Dive Boat.
We were living near the sea on Bohol Island in the Philippines and to get to the reef where I wanted to dive was about 500 meter out from the shore line. The boat should bring me there with all my diving equipment, some dive buddy and maybe a helper.
I went through all the plans I could find for free in the internet and had to decide between a 3.5 m (12 foot) and and almost 5 meter (15 foot) boat. The decision fell on the 5 meter (15 foot) skiff or Fishing Punt.
However, after I cut the side panels and transoms and put the boat loose together, I was surprised by the size of it. I thought it was too big for me and I wanted to stop the project and change it for the smaller one. But I went on...
The workflow and the techniques are described already in the other sections of this website so here is just an short overview of the workflow:
- Transfering the dimensions from the plan onto the plywood sheets. I used 6 mm for the sides and 9 mm for the bottom and transom. The Transom was later reinforced with some stong battens for the outboard engine.
- Cutting the plywood
- Setting 3 butt blocks: 2 in the side panels and 1 in the bottom plate
When I loosely assembled the boat the next day, I decided to take out the small transom in the bow and bend the two sidepanels together so that the boat now has a normal pointed bow. However I had to adjust and cut the the sidepanels and the bottom plate to fit together with the new shape.
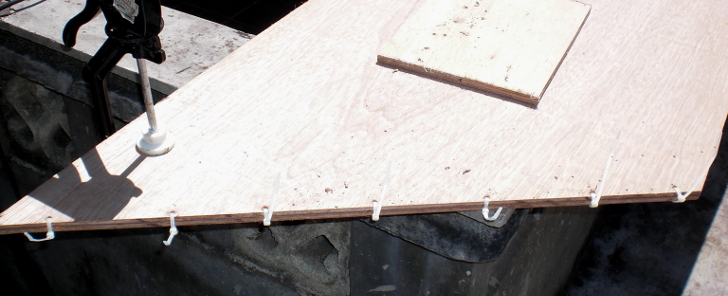
Next step was to stitch the sidepanels with cable ties at the bow and transom and unfold the boat. At this point I also fixed the 3 inner frames temporarily with some screws to keep the shape of the boat and layed it upside down on the stands.
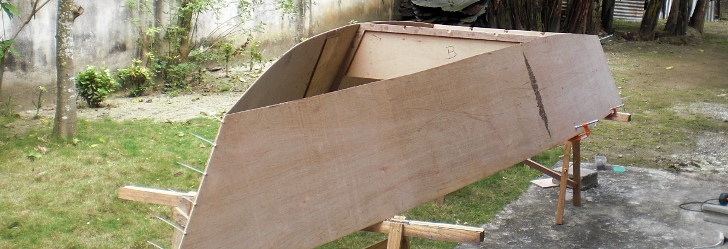
Then we put the bottom panel on it and stitch it with the side panels and transom. By now, it already looks like a boat.
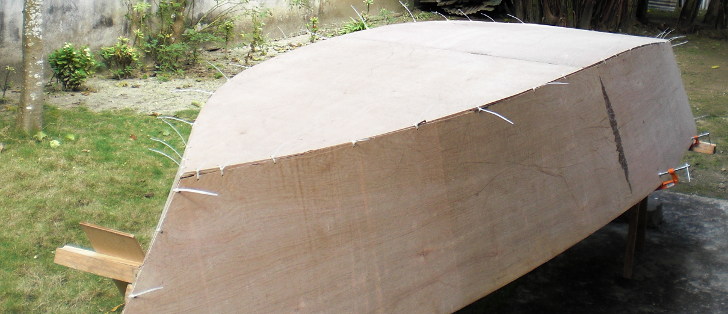
We turnded the boat carefully back in it's normal position and started glueing it with my self made filler (first) and with fiber mat and epoxy resin thereafter. This process (only inside) had to be done in just one step. Also the frames were glued at this point.

After the inner seams had hardened over night, I had to turn the boat around again to round the outer edges with marine epoxy as a filler and a sander.

Before I could glue the outer edges I needed to cut and prepare all the stripes of fiber mat that I would need. Glueing the outside of the boat turned out to be much easier and faster than the inside.
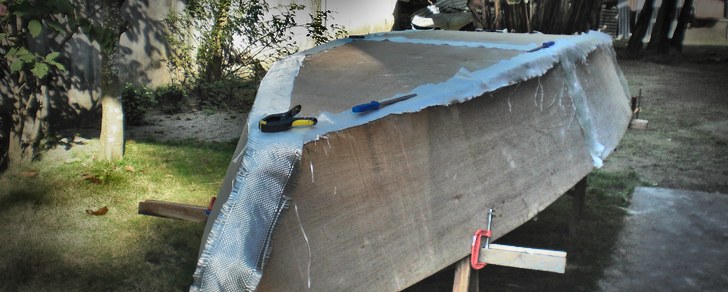
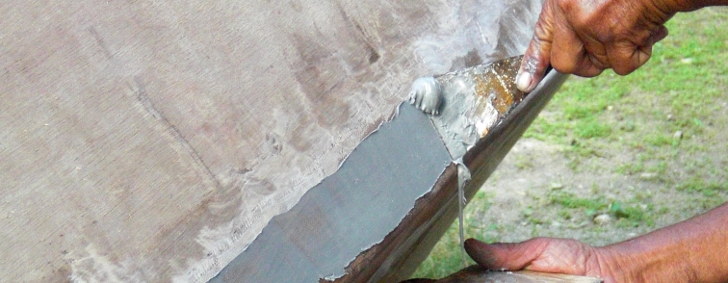
After everything had hardened over night it was time to smoothen the surface of the boat, inside and outside. Unevenness along the fiberglass mats must be smoothed with marine epoxy and a sander.
Somewhere in between here, the battens for the reeling were glued to the upper edge of the boat:

As far as I remember, it took us at least a couple of days to get this done.
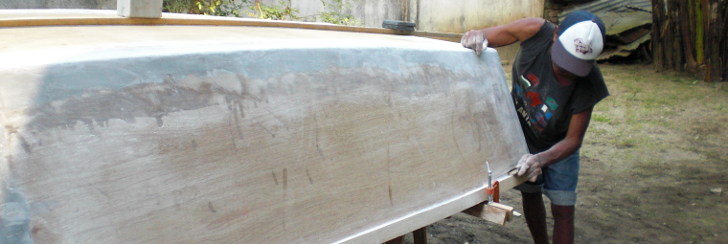
A keel was added and glued to the bottom plate. The old battery and some other stuff serves as a weight while the epoxy is hardening:

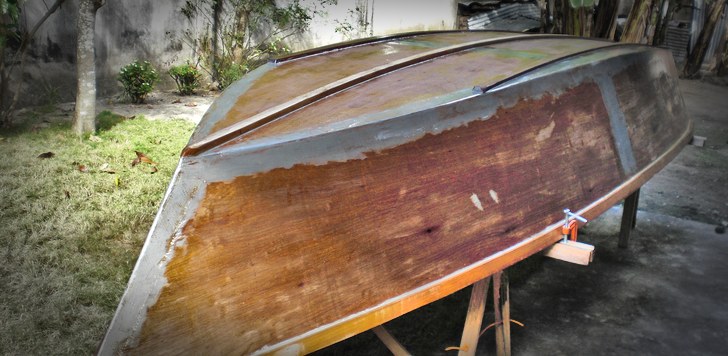
After the surface was finaly smooth enough, every part of the hull was painted with three layers of epoxy resin. I waited only about 1 hour between the coatings to make sure the different layers of epoxy will chemically bond with each other. This procedure makes the plywood waterproof.
When the epoxy had hardened over night we could start to paint the boat in it's final colour. We used Epoxy Paint for this but you can also use normal acrylic paint.

Done: Our work was finished and we took the boat to the sea for it's maiden journey
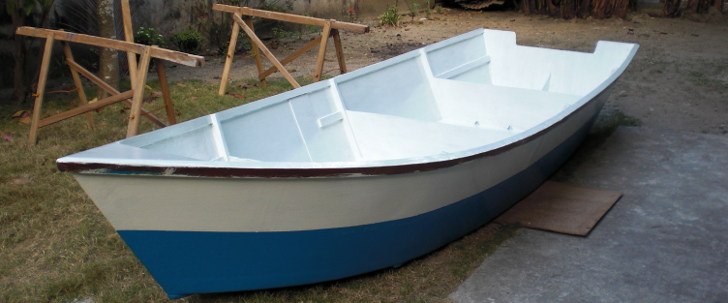
We brought the boat to the the water and it had enough space for 5 people. The locals counln't beleve that that the boat of the foreigner would float and be stable in the water even without an outtrigger.
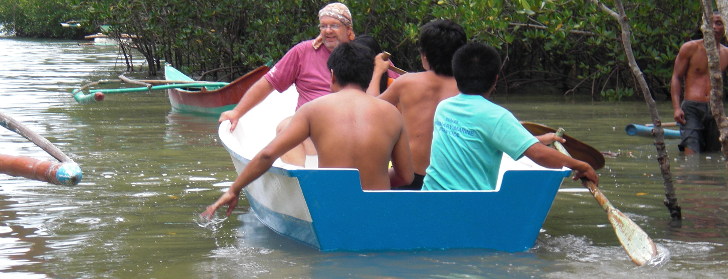
This was already the end of the season and soon I had to go back to Germany. Six month later that year I brought an 8 HP outboard engine from Germany and you can see the video here.